Proper maintenance and cleanliness of a sputter coater are critical to getting the best performance from your system. A sputter coater not only coats the samples that are put inside the chamber but actually coats pretty much everything in the target line of sight. Think of a showerhead that is spraying and vaporizing water.

The most common and noticeable symptom of a dirty coater is the long pump-down time. Other issues may include unwanted particles/contamination deposited on a sample surface, peeled coatings that are visible inside the system, and possible shorting of the anode/cathode leading to errors or power supply failures.
Carbon coating is the most notorious culprit in making a coater dirty.
Cleaning does not take long, is quite simple, and will help prevent future, worse problems plus will prevent you from having to clean and recoat samples.
Cleaning Material
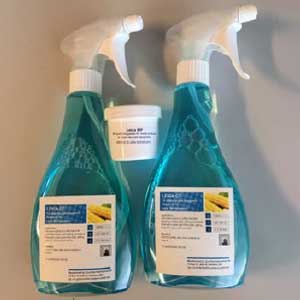
There is a Leica cleaning product available for parts used in vacuum, which is the ideal solution for cleaning: 16771511205.
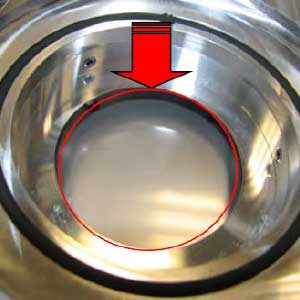
Cleaning the Bell Jar or Coater Door
To remove carbon coatings, use a 70% isopropanol solution and lint-free tissue for the rough, initial, cleaning. If that does not completely remove the coating, then use a fine glass polish paste or 1um diamond paste. Finish with warm soapy water or isopropanol.
To remove sputter coatings, start with the fine glass polish paste or 1um diamond paste and finish with soap-water or isopropanol.
Make sure not to use Scotch Brite-type pads that will scratch glass. Also, do not use any abrasives not designed for glass. Scotch Brite type pads can work for internal metallic surfaces if lint-free paper or cloths do not work.
If your system has a door, clean the o-ring with isopropanol and a lint-free cloth. You can then add a thin layer of vacuum grease to the o-ring after cleaning to make sure you get the best seal.
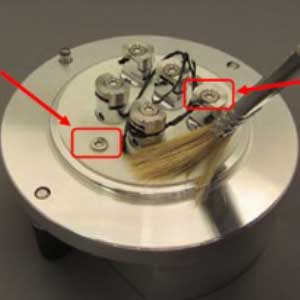
Internal Shutters
Internal shutters can be cleaned with Scotch Brite pads and metal cleaning pastes. Make sure to finish with soapy water and then isopropanol to remove all residue. Cleaning shutters are most important when you are adding pre-sputter steps in your coating process. Pre-sputtering will deposit a coating on the back of your shutter. This coating will continue to accumulate the more you use the machine and may start sluffing off and contaminating samples.
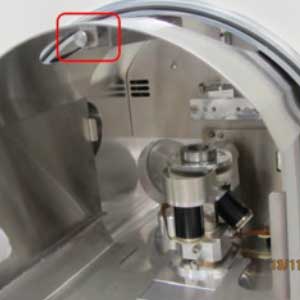
Internal Shielding
Your coater has a metal internal shield, remove it and clean as you would clean the shutters.
Winding Posts for Carbon Thread Coaters
Use a soft brush to clean the posts and ceramic plate every time you change thread. Accumulated threads and thread residue will create a continuous carbon layer and can short your system.
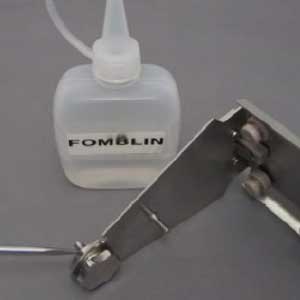
Area On or Around Your Target
Depending on the type of system you have you may want to remove your target and clean the area around it with a lint-free cloth and a brush and then wipe with ethanol. This will prevent the buildup of flakes on/around the target that may cause shorting.
Surface Characterization Capability is up, running, and ready to analyze your samples
Both David Maita and Will Bond have been training on the Sensofar surface characterization systems we have available. The lab has both an S Neox and an S Wide to run your application and we are getting tremendous support from Jim Yampolsky, an old friend who worked at JHT many years ago. Jim is the regional manager for Sensofar and we would like to welcome him back to our extended family.
For more information about the surface analysis we can perform, please contact us!
Please visit our Analytical Lab Services page at the link below, or complete the form on this page to contact our lab staff.